Build and publish multiple RN apps from the same codebase. (part III)
 Aleksander Mikucki•Jul 21, 2020•5 min read
Setup Fastlane + Detox, take UI screenshots and manage metadata. Some insights and ideas for improvements.
This is part 3 of our tutorial on building Branded Apps from a single codebase with React Native. In the first part, we learned how to make our app display the appropriate assets, brand specific styles, and selectively enable features based on a config file. In the second part, we learned how to configure our Xcode and Android Studio projects. In this part we look into using Fastlane and Detox for automating the build process and for taking UI screenshots for all of the app flavors.
One of the most time-consuming tasks when it comes to maintaining mobile apps is to keep them up to date with the correct metadata in the app stores, and the most current version of the app available to all consumers.
It is even more laborious when for a single set of updates, we need to prepare a set of flavored builds, upload each one of those and also prepare metadata to be shown on the app stores. Thankfully, there are tools that help automate all these processes — in our approach we decided to use Fastlane.
If you haven’t heard of Fastlane we recommend that you start from one of the multitude of tutorials available online. We won’t be focusing on the basics behind Fastlane but rather on changes that are specific to building and submitting multiple apps from a single codebase. These changes mainly focus on specifying the variant of the app to build using Fastlane CLI. For example, when preparing new app updates it’s important to increment their version numbers automatically, this can be done using one of Fastlane plugins. Commands like get_version_number for iOS or get_version_name, get_version_code for Android allow you to pass the bundleId of the app via their config, so you can push updates with incremental build numbers that are different for each of the apps.

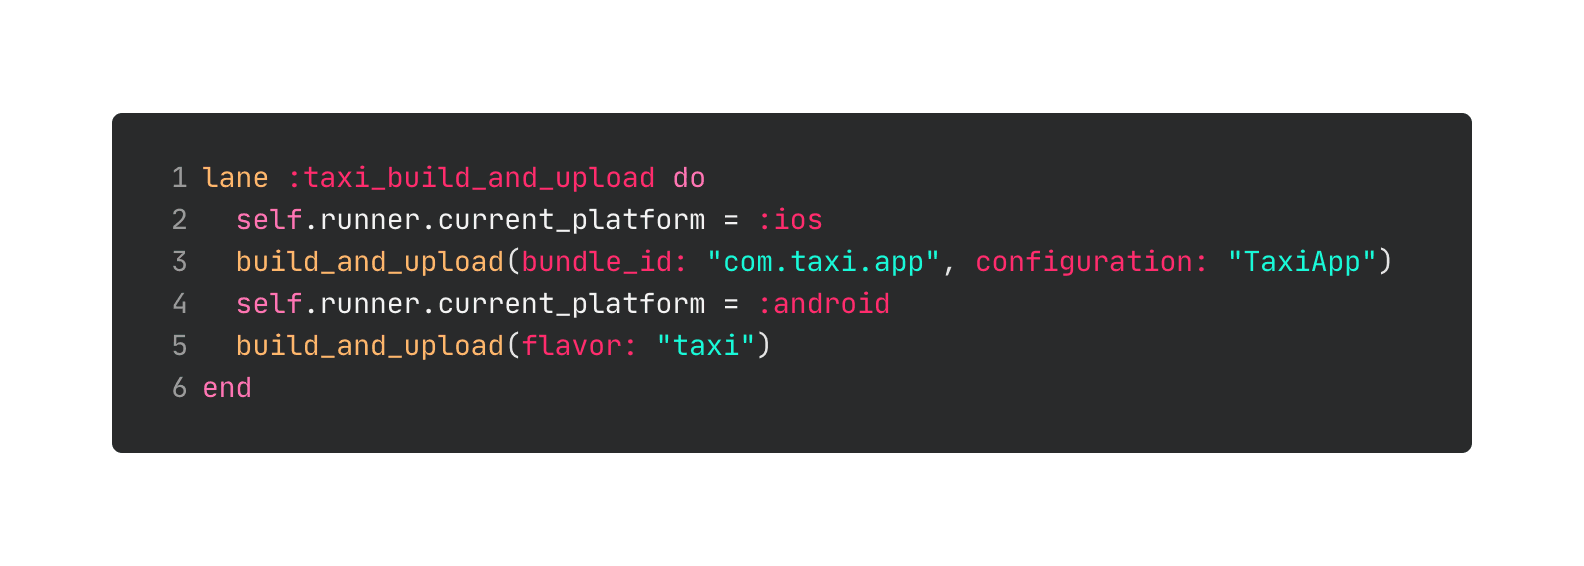
For building iOS applications, the default Fastlane tools can be customized to choose the curently built variant of the app, for example the build_app command allows you to pass the configuration names we created in part II of this tutorial via its config.
For Android, the gradle command allows you to specify the flavor being assembled.
If you want, you can optimize your workflow even more by taking automatic screenshots and localizing them. This allows us to show consistent sample data on all store pages. We tried the Fastlane screenshot solution using xCode UI tests, but failed to get it up and running (and it’s not cross-platform, so we’d need to repeat writing UI tests for iOS).
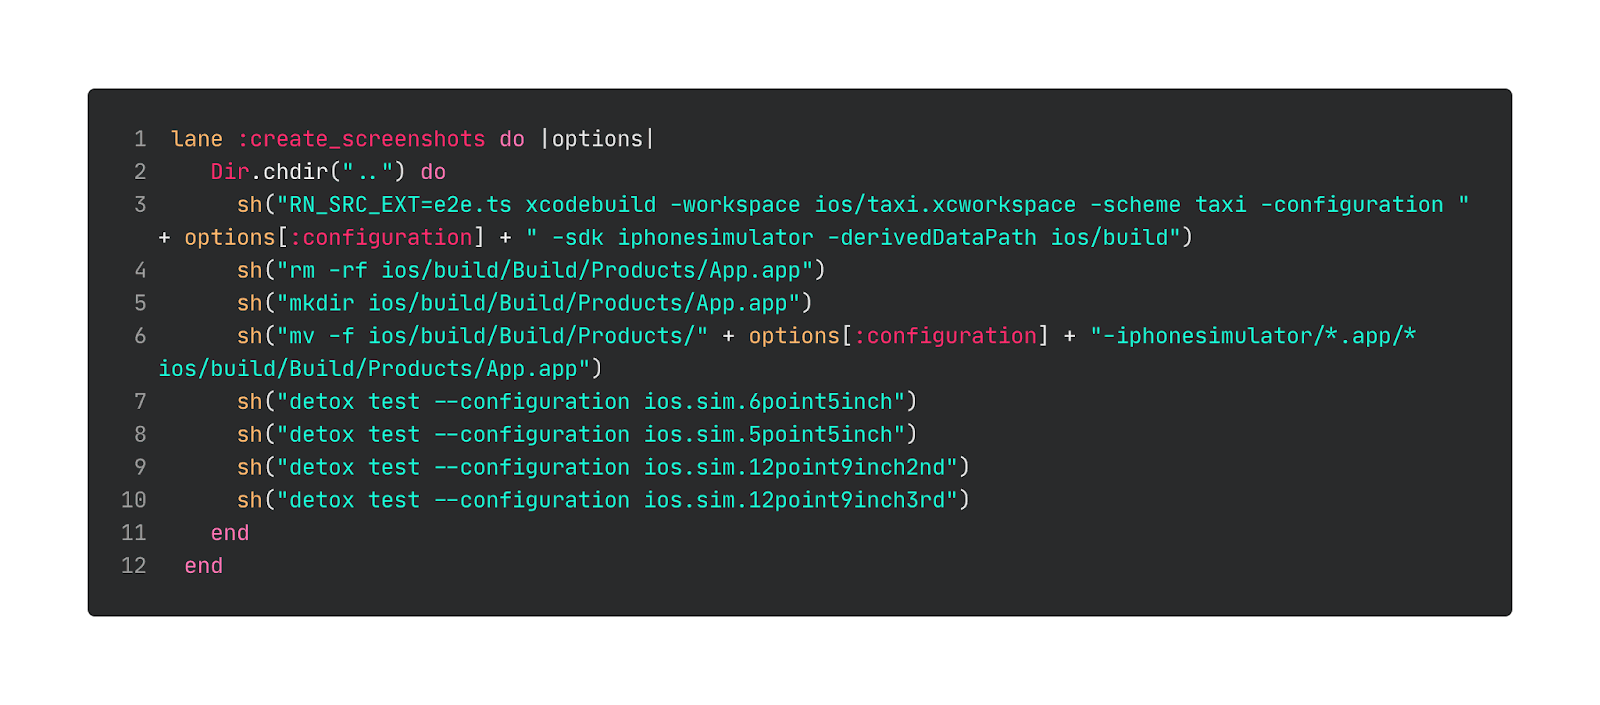
The approach we decided to take here is based on the cross-platform UI testing framework Detox. Getting it to work requires some adjustments. First, we need to set up a Fastlane lane to run Detox build scripts. Then, we move the resulting app artifact to the location where Detox is able to pick it up — the location is the same regardless of the app flavor as they all share Detox configuration in our main package.json.
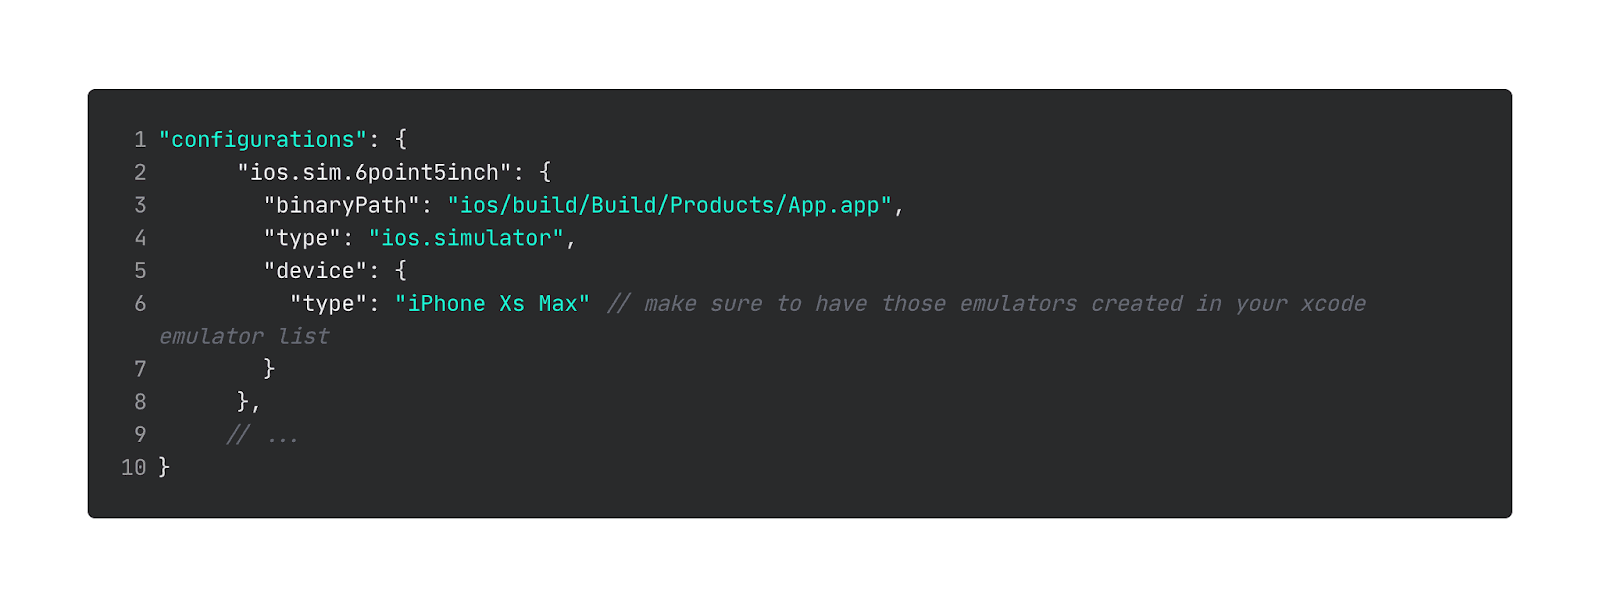
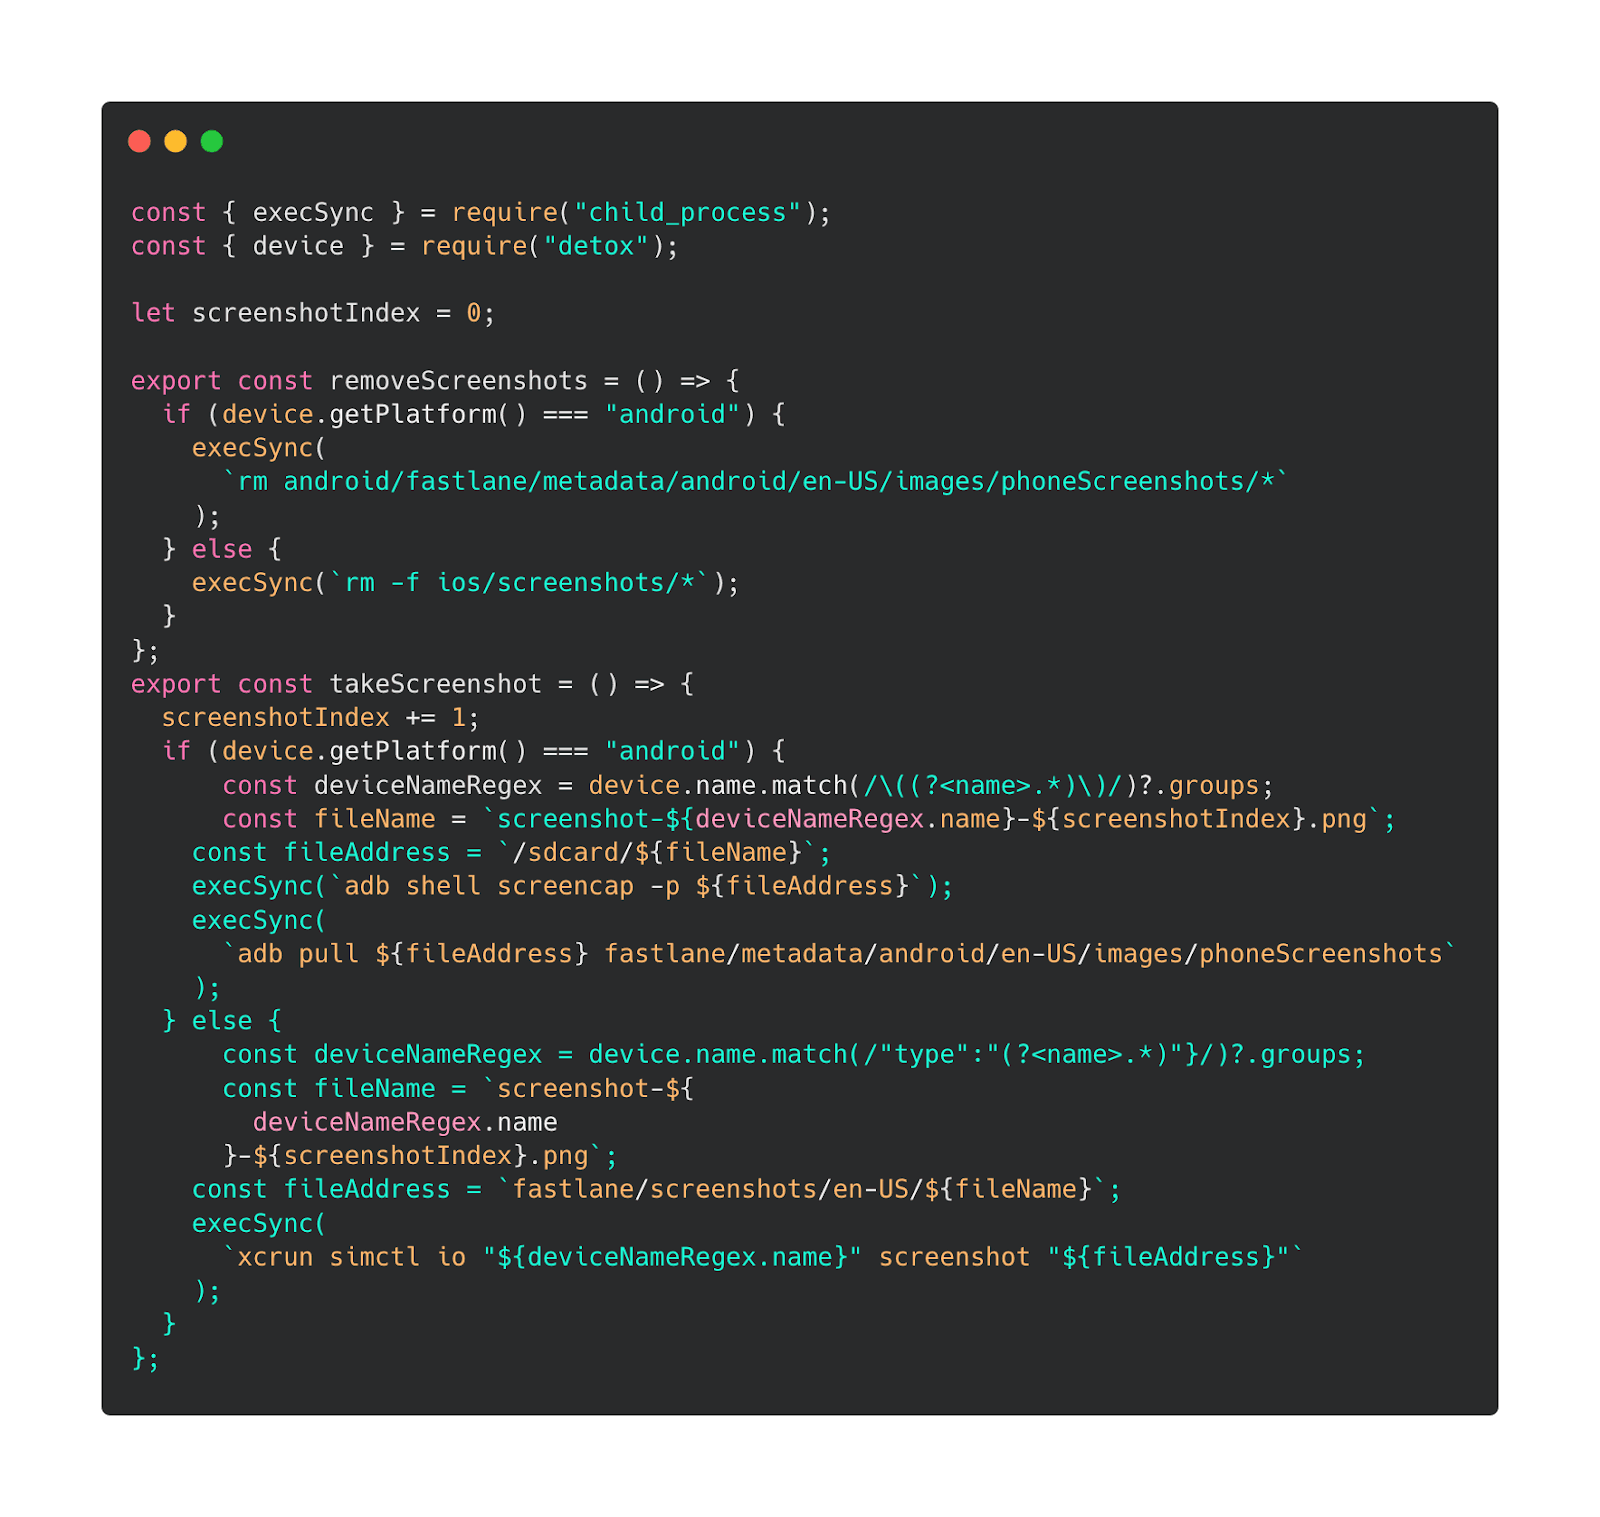
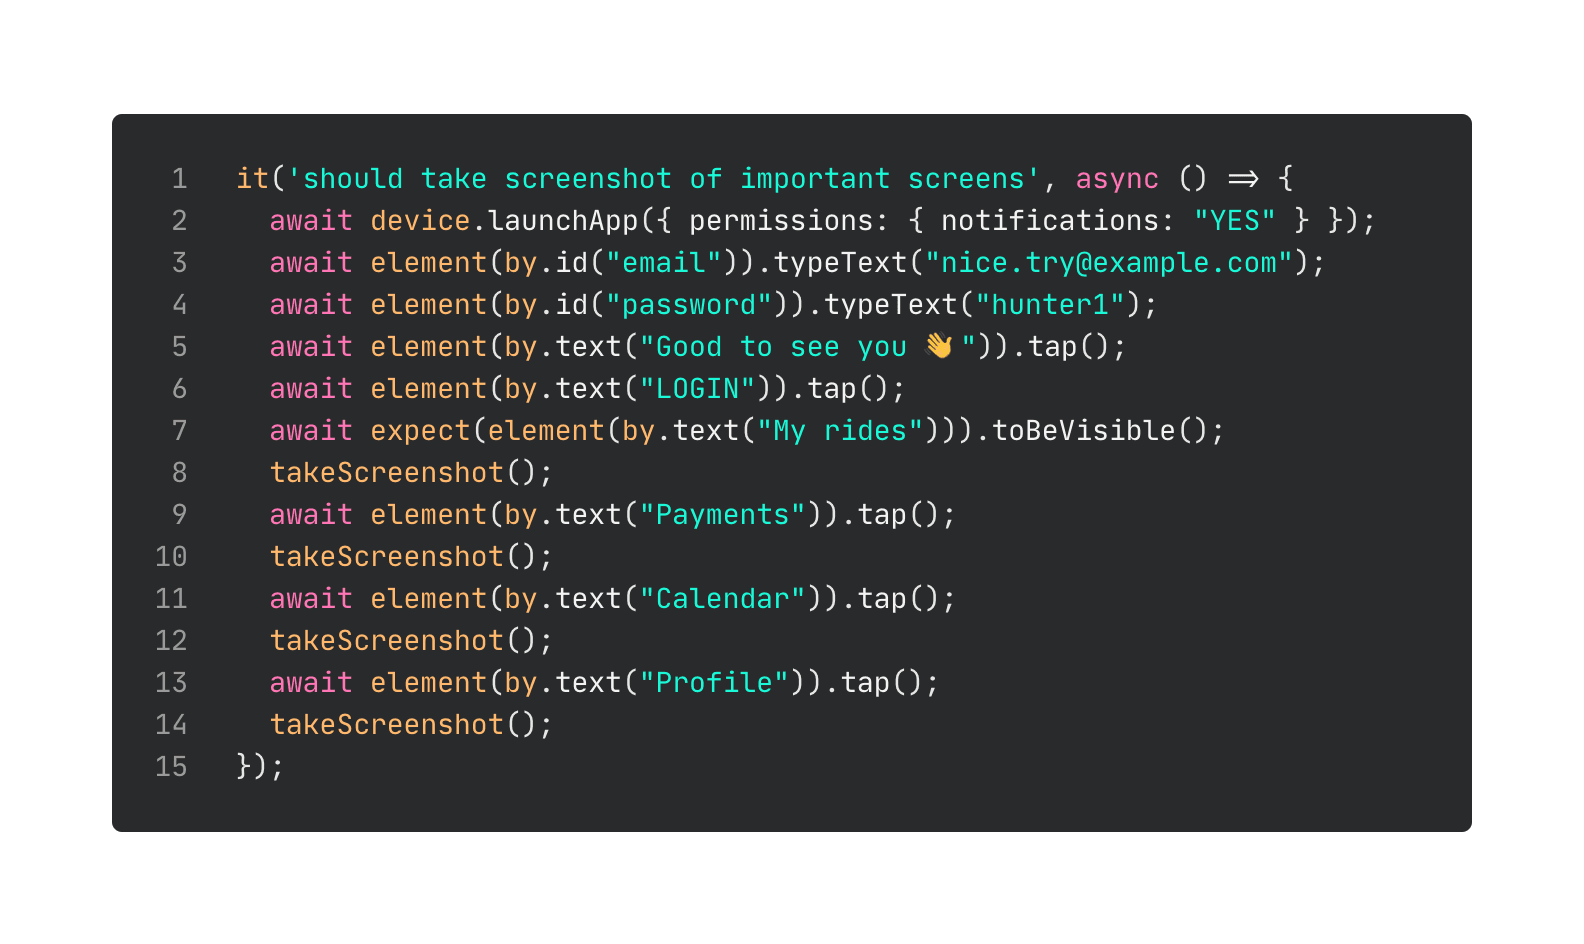
Next, we need to create a custom takeScreenshot function — we will use this function to capture screenshots during the UI tests that we run with Detox. We also need to pull the device’s model name from the emulator and append it to the resulting screenshot filename. App Store requires the app’s screenshots to be taken on four devices, and two of those have the same resolution. The filename is added to distinguish between these two.
To automate app metadata upload we can use Fastlane’s deliver command on iOS. Use fastlane deliver init to download existing metadata if you have it. This copies existing metadata to separate text files. We can then create some sort of templating for it or copy it from app-specific folders.
The same goes for Fastlane Supply tools for uploading Android screenshots and metadata.
Isn’t Fastlane AWESOME?
Tips, tricks & ideas
➡️ I haven’t looked for an automatic way to handle push certificates for iOS, and this might be an interesting research to do. The easier choice could be to use token based connection, which would eliminate the need to have multiple certificates.
➡️ Integrating OTA updates would add additional complexity, but could reduce the need for updates. It may also rely on a single js bundle being distributed to all app flavors.
➡️ If you want to use Firebase on Android for push notifications, this should work out of the box with just one google-services.json. Even though the UI is super confusing, the file contains keys for all the apps assigned to the project.
➡️ Use Detox override (the e2e.js extension, if you set it up according to docs) to disable any behaviors of the UI that break your screenshots, or just to use the staging backend.
➡️ For Expo, separate Release Channels are needed for each of the branded apps (since I didn’t find a way to pull the app’s bundleId from the built standalone Expo app). We can use release channels equal to base-32 encoded objects that contain data about backend (staging|production), app flavor name, and some other data. This is a simple way to get data from the Release Channel string, but does quickly create an overwhelming amount of Release Channels to deploy for.
➡️ I think that making multiple apps with the same functionality waters down your momentum, makes users confused as to what they can expect, costs a lot of time on both setup and each release, and should be avoided in general. That being said, there are legitimate use cases for this, in particular for all kinds of white label products. If you want to get it working I hope this guide helps you out at least a bit 😀.
This is all for the final part of the tutorial. If you want to give the previous ones a read, check out these links:
➡️ Part I: Introduction & How to select features based on an application identifier and react context.
➡️ Part II: Configure your Android studio and Xcode project.
If you have any ideas, improvements, questions, or issues reach out to me on twitter @aleqsio. Hope you’ll have a great day 👋.